Affordable Refurbished Laptops for Everyday Productivity
Affordable refurbished laptops are becoming a practical solution for students, professionals, freelancers, and home users who want reliable technology without spending a large amount of money. These devices provide excellent performance for everyday productivity tasks while supporting smarter and more sustainable purchasing decisions.
Refurbished laptops are carefully inspected, tested, and restored to proper working condition before being resold. Many users now prefer refurbished devices because they combine affordability, functionality, and dependable performance for daily activities such as browsing, document creation, video meetings, and online learning.
Why Refurbished Laptops Are Gaining Popularity
The demand for affordable refurbished laptop windows 11 continues to grow because they deliver strong value for budget-conscious buyers. People can enjoy modern computing features at lower prices while still receiving quality performance for regular tasks.
Key Benefits of Refurbished Laptops
- Lower cost compared to newly manufactured devices
- Reliable performance for everyday office work and study
- Suitable for remote work, online classes, and entertainment
- Reduced electronic waste and environmental impact
- Access to upgraded features at affordable pricing
- Available in multiple screen sizes and hardware configurations
These benefits make refurbished laptops an attractive option for users who need efficient technology for routine productivity.
Features That Support Everyday Productivity
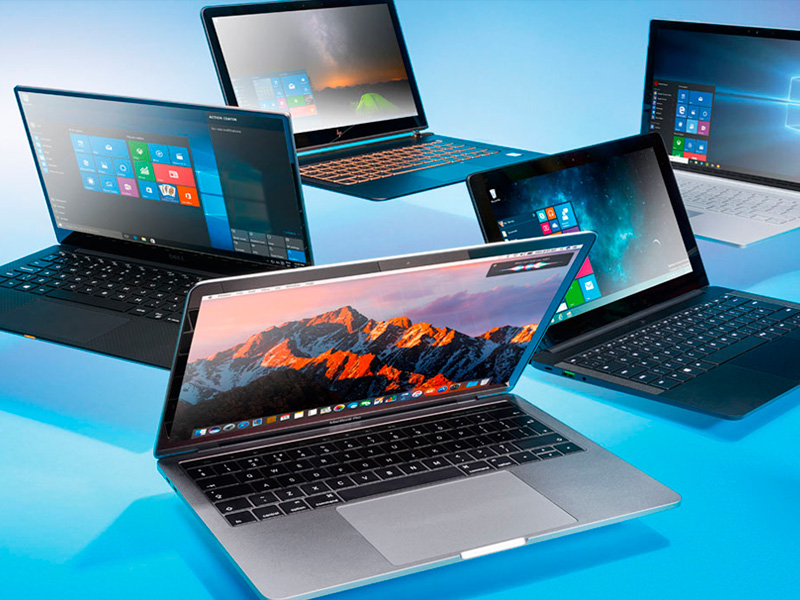
Modern refurbished laptops are capable of handling many essential tasks smoothly. Whether used for work or personal needs, these devices often include features designed to improve comfort, speed, and multitasking abilities.
Important Features to Consider
- Fast processors for smoother performance
- Solid storage options for quicker startup times
- Clear display quality for comfortable viewing
- Long battery life for portable use
- Lightweight designs for travel and mobility
- Multiple connectivity options for accessories and networking
Choosing the right specifications helps users maintain productivity throughout the day without unnecessary interruptions.
Ideal Uses for Affordable Refurbished Laptops
Refurbished laptops are highly versatile and can support many different digital activities. Their balanced performance and affordability make them useful across various industries and lifestyles.
Common Everyday Uses
- Creating documents and spreadsheets
- Participating in virtual meetings
- Managing emails and online communication
- Streaming educational or entertainment content
- Conducting research and web browsing
- Running productivity and collaboration tools
Many users discover that refurbished laptops easily meet their daily requirements while staying within budget.
Sustainability and Cost Efficiency
One of the biggest advantages of refurbished laptops is their positive environmental impact. Extending the life of electronic devices helps reduce waste and supports sustainable technology practices. Consumers can save money while also contributing to a more eco-conscious approach to computing.
Businesses and educational institutions also benefit from refurbished technology because it allows them to equip teams and students with dependable devices at lower operational costs.
Conclusion
Affordable refurbished laptops offer an excellent balance of performance, value, and sustainability for everyday productivity. They provide dependable computing power for work, education, communication, and entertainment while remaining budget friendly. With strong functionality, practical features, and increasing consumer trust, refurbished laptops continue to become a preferred choice for users seeking reliable digital solutions without excessive spending.